
A macaron is a little cookie sandwich. No, it's more than a cookie sandwich.
It's an experience. The slight crunch. The tender center. The flavorful filling.
The cookies are made of meringue (whipped egg whites), sugar, and almond flour and the baked shells are filled with anything like ganache to buttercreams to curds to jams.
That's it.
Well...not really, there's so much to making macarons - which is probably why it took me so long to start making them. I'm going to give you some insite on how I do my macs. Don't take it THAT seriously because I don't do what other macaronivores do. I've adapted to the conditions in my own kitchen and have found the following to be helpful.
INGREDIENTS:
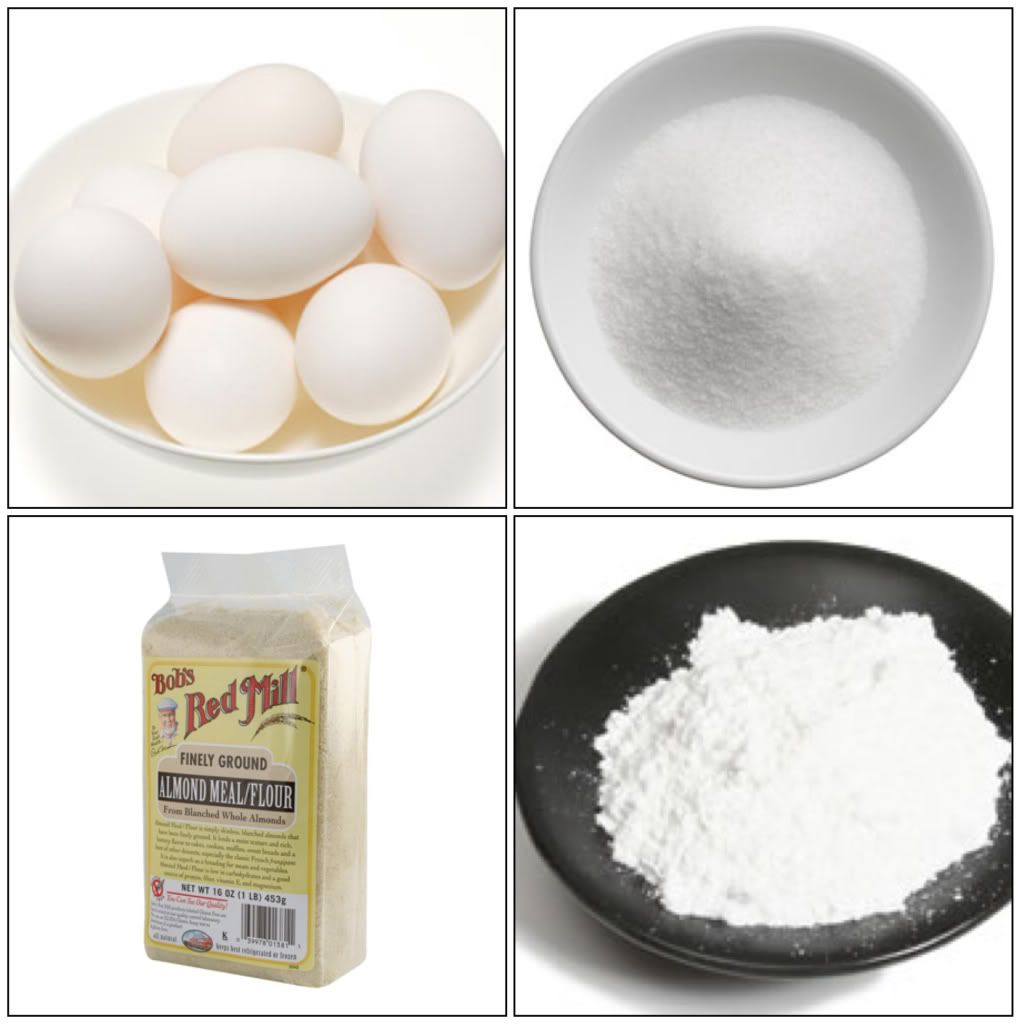
1) Eggs - I use regular large eggs. You're probably going to read recipes stating to leave your eggs out for 4 days at room temperature to break down the egg whites and making them more liquid in consistency. I don't do that. If you're planning to make them 3 days from now, sure go ahead and reserve your eggs. Since I have sudden urges to make macarons, I don't have eggs sitting around at room temp. After some experimenting, I found that putting them in my microwave for 10 seconds at 3 power does the trick for me. All microwaves are different, so be prepared to make tons of omelets with the eggs you nuked too long. Or just set them out for 4 days.
2) Granulated sugar - some recipes call for superfine or castor sugar. Luckily my local Safeway has fine sugar. I just use that. I just make sure to add it gradually into the eggs making sure it's all dissolved before adding the flour. If you want to make your own fine sugar - blast it in the food processor.
3) Almond flour - THIS is one reason why macarons are so damn expensive. The price can range from $3.99/lb (Trader Joe's) to $11/lb as in the Bob's Red Mill brand. I was lucky to find a local specialty store that sold them in bins where you scoop out your ideal amount and pay by weight. Either way you get it, I make sure it's finely ground. I double check that by putting it in the food processor.
4) Confectioners Sugar - it's the same as powdered sugar or icing sugar. It is added with the almond flour to the meringue mixture and adds lightness to the batter.
RECIPE:
There are so many different recipes out there for macarons. The two most commonly used methods are the French method and Italian method. The main difference is that granulated sugar is added to the meringue in the French method while the Italian method calls for a hot sugary syrup to be mixed in.
In MY kitchen, I've only done the French method. Why? I'm scared of molten sugar. Blame it on a bad leche flan experience when I was a child. The recipe I've been using for the last few weeks is from Martha Stewart. The ingredients are basic basic basic (I have this recipe memorized), but it all comes down to the actual macaronage, or the way the meringue and almond flour are mixed together. Undermix. Fail. Overmix. Fail. This can take a little while to perfect, but be patient! It's totally worth it!
Martha Stewart's Basic French Macaron Recipe
For the French method, whatever amount of each ingredient you use, the steps are pretty much the same. I do the following:

2) Measure then finely grind confectioners sugar and almond flour in food processor
3) Beat whites to stiff glossy peaks
4) Fold flour mixture into the eggs whites aka the macaronage aka do or die time
5) Prepare baking sheet with macaron template under parchment paper
6) Prepare decorating bag with piping tips
7) Fill bag and pipe onto parchment

9) Let rest/dry 30 minutes or until a skin forms. It shouldn't be sticky when touched.
10) Preheat the oven to 300F
11) Bake macarons after they dry for about 15 minutes. This time will vary depending on your kitchen, humidity, etc.
Keep an eye on them.
12) I usually zone out while waiting for the shells to bake. Meaning I stand near the oven staring at it waiting for those feet.
13) Take shells out of the oven and let cool for a couple of minutes on the pan then transfer to a cooling rack.
14) Prepare your filling as the shells cool.
15) Partner up shells, fill, then put them in the fridge to ripen
16) Clean kitchen then plop on couch or if first batch fails (as it has happened to me NUMEROUS times), dust yourself off and try again!
TIP: Please let YouTubers and food bloggers be your friends. I learned so much from those sources especially when it came to knowing when to stop whipping the meringue from visual cues to detecting when it's the right time to start piping the macaron shells.
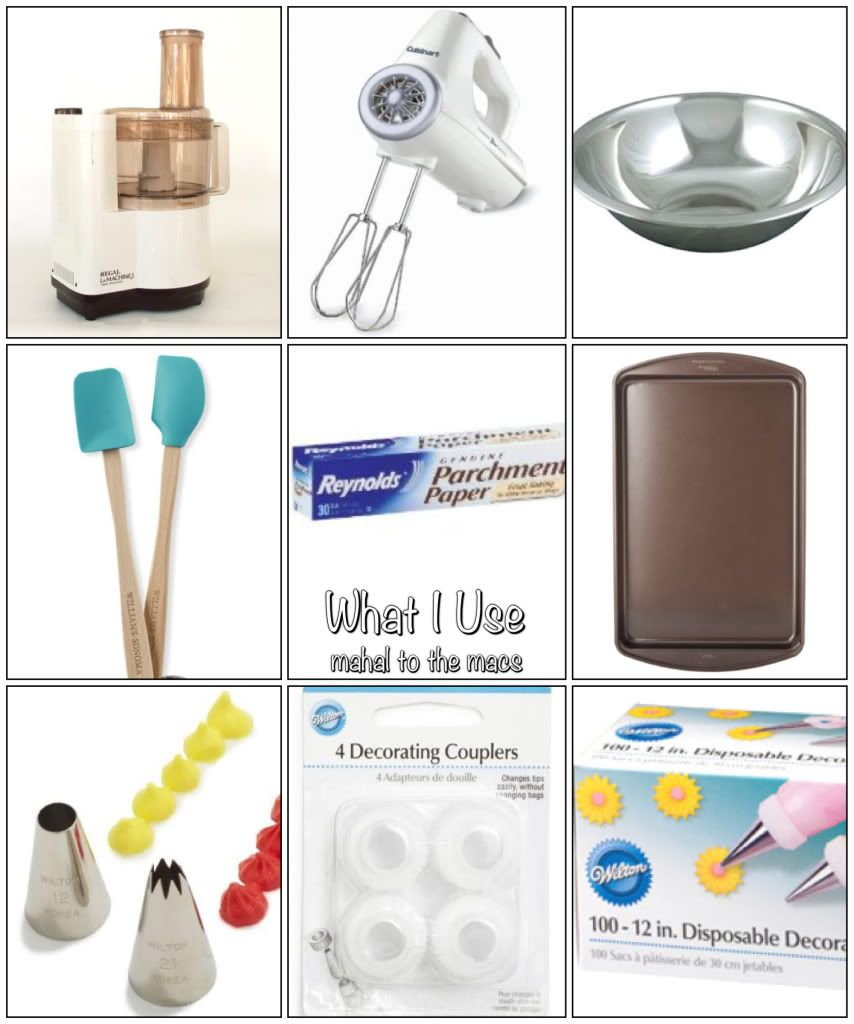
The items above are exactly what I use in my kitchen.
1) Food processor - to further ensure there are no big pieces of almond. If you like little bumps on the surface, you don't have to do this step. The one I have is my mom's from the 1980's. Old school.
2) Electric hand mixer - I like using my trusty mixer to beat the egg whites. I prefer this over the Kitchenaid stand mixer because I get to gauge the merignue better by simply lifting the beaters out of the batter. It's lighter and I get a better feel of the batter.
3) Stainless steel bowl - I mix my eggs in this kind of bowl, but I used to use glass. I stopped because I started cracking them. I would LOVE a copper bowl (better reaction with eggs), but I would stay away from plastic (the eggs can't climb the sides).
4) Rubber spatulas - no need in saying they are great for folding, mixing, and spreading everything from the batter to the fillings.
5) Parchment paper - I use this so that the macarons come off the sheet easier.
6) Baking sheet - I have a nice Wilton pan that can take beatings. Literally to make sure there are no air bubbles in the piped mac batter, I bang the pan against my granate countertops. Also find a pan that does not warp in the oven.
7) Decorating tips - I don't have patience to spoon the batter onto the sheet, so I use the piping bag with a Wilton round 12 tip to ensure uniform edges and sides. The star tip is nice when piping fillings.
8) Couplers - always make sure you have several couplers and tips on hand especially if you are dealing with different batters and fillings.
9) Disposable plastic piping bags - I'm lazy. I have a real reusable piping bag, but since I can be working with several batters at a time, I like using plastic. Besides it is one less thing to wash.
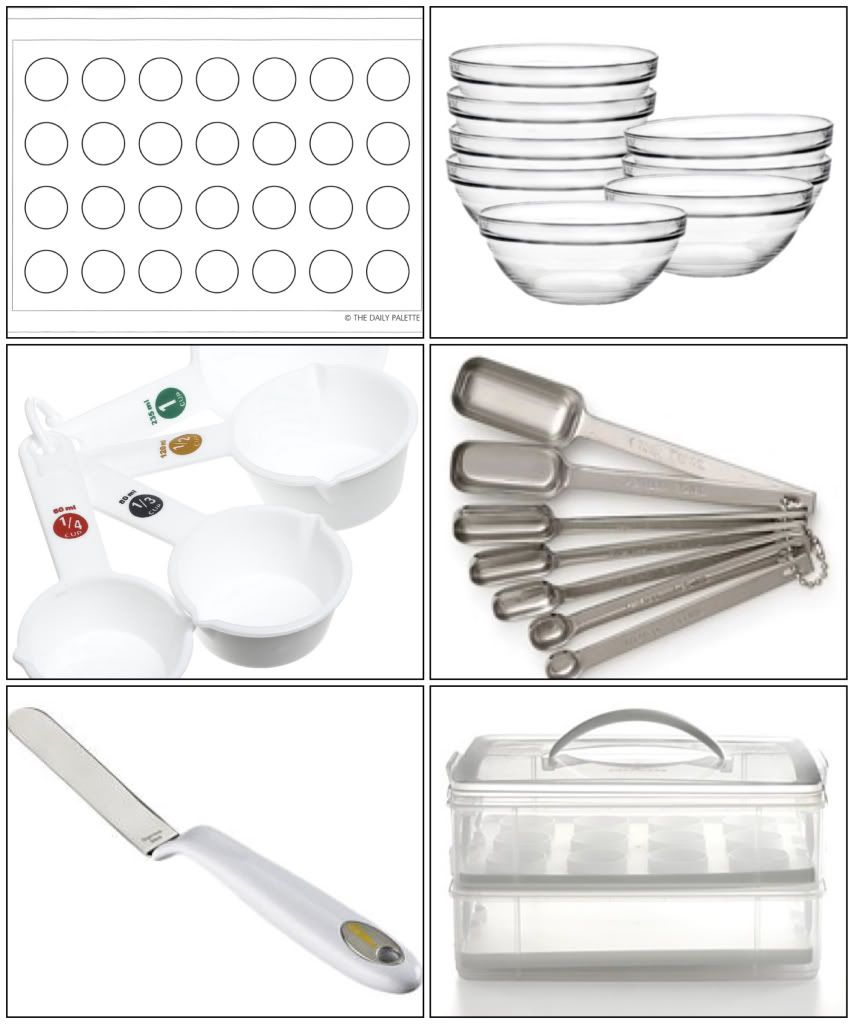
I also use the equipment above. No way I can make macs without them.
1) Macaron templates - I like mine to be all the same size to make sure that everyone has a partner. My macaron Godmother "Ninang" Annapet at The Daily Palette published a great one for 11x17 inch pans.
2) Small glass prep bowls - great if you are mixing different colored batters. Also a good mis en place is always nice. Having your ingredients measured beforehand will make the process easier.
3) Measuring cups - self-explanatory
4) Measuring spoons - more self-explanatory
5) Offset spatula - great for spreading fillings
6) Carrier - I always put my macarons in this kind of case in the fridge after they are made. They need time to ripen - meaning for their shells to soften a little bit and absorb the flavors of the fillings.
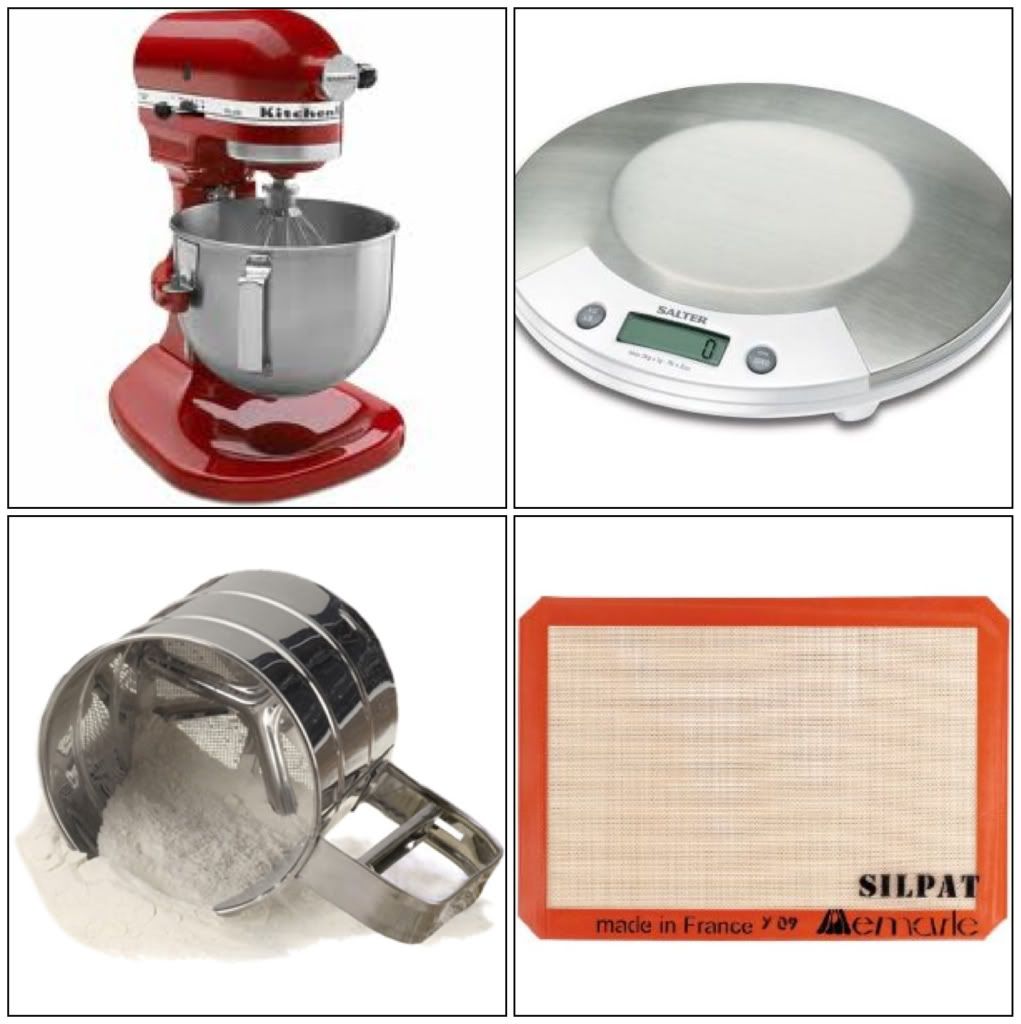
These are fancy, but not neccessary in MY kitchen. Probably, maybe, possibly in your's, but not mine.
1) Kitchenaid Stand Mixer - you know as they say, "you have arrived if you have a stand mixer." I've used it once for my macs and I overbeat them. Sure you can use it, but not neccesary for French method. If you dapple into the Italian method, this would probably be safer. One hand with a pot of hot sugar and the other with a running handmixer might not be the smartest thing to do.
2) Kitchen scale - oh so fancy, it's helpful for ganaches, but since the recipe I refer to uses regular measuring cups, this usually stays in the cabinet. Sure they say using a scale to measure out ingredients yields a better macaron, but hey, I'm fine with the cups.
3) Flour sifter - this will make sure you don't have clumps in your macs. If you want a super smooth surface go ahead. Sometimes it isn't all that necessary for me.
4) Silpat - I do have a Silpat, but I haven't warmed up to it yet. I had an issue with the bottoms sticking. Maybe I am so used to the parchment paper, that changing conditions in order for successful Silpat-use is making me nervous. I do need more practice using the Silpat. I'll let you know when I finally get the hang of it.
BATTER:
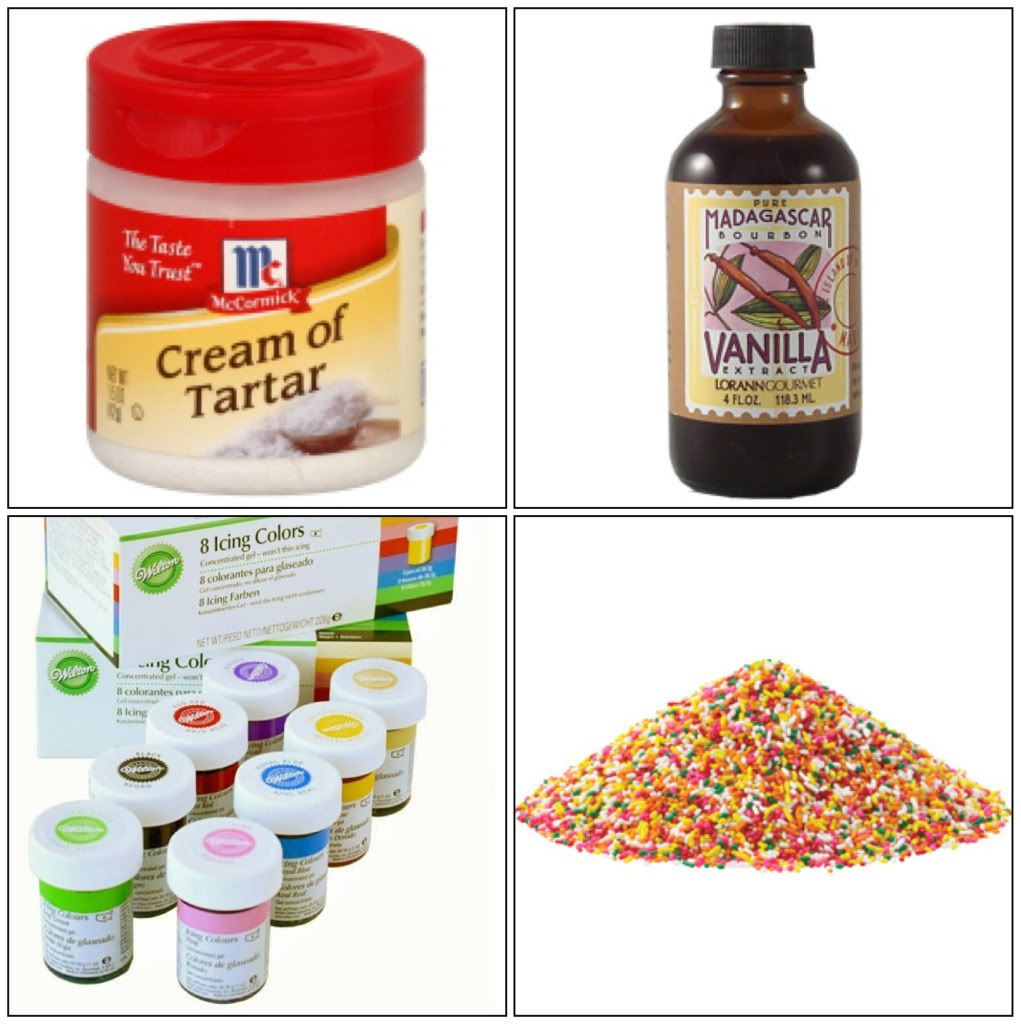
1) Cream of tartar - I always add a smidgen of cream of tartar to my egg whites right when I start beating. It's just an insurance policy that I don't overbeat. Who knows if it really works, but it's a mental thing. I don't feel right if I don't add it. This is optional.
Now let's have some fun!
What most people don't know is that much of the flavoring of a macarons comes from the filling. Most macaron shells are just plain with no flavoring, but if you're fancy, you can play it up!
2) Extracts - the most common flavoring is vanilla. You can also add almond extract, mint, etc. I wouldn't add too much since the liquid may destroy your meringue.
3) Coloring - avoid liquid coloring since moisture ruins meringues. I use mainly gel colors. Those are potent. A little goes a long way. I've seen powdered coloring, but I've never tried it.
4) Sprinkles - actually anything dry like sugar crystals, jimmies, etc. would be great toppings for the macarons. Be careful with candies like crushed cancy canes. They can melt through the macarons.
I hope this was helpful as far as what you need. Now if you need help with the actual macaronage, please refer to videos on YouTube. Very valuable information is out there!
Good luck!
Hi Joanne! Great Job. I've actually tried making both, the French version and the Italian version. Macaron making takes patience. With the French version, if you underwhip or overwhip, your macaron fails. The French version also relies on the humidity. When its too hot, it'll fail. The Italian version takes longer to develop the feet thus there is a tendency to crack when baking as it is crusted longer. Have fun with your endeavours. Try making some with Mango filling or Guava filling for a more Hawaiian themed macarons!!!!
ReplyDelete